Does Car Touch Up Paint Work: What to Know and Why It Matters
Yes, car touch-up paint works for small chips and scratches, but it rarely makes damage disappear completely. The result depends on matching the color, preparing the surface, applying thin coats, and protecting the repair with clear coat.
Small paint damage creates a choice between acting early and doing more than necessary. Leaving exposed metal or primer alone can allow corrosion and water intrusion, while applying the wrong paint or rushing the repair may leave a more noticeable mark than the original chip.
This guide explains when touch-up paint is effective, when it is unlikely to satisfy, how to identify the limits of a DIY repair, and how to apply it for the cleanest practical result. You will learn what the paint can and cannot repair, how to choose the correct color and finish, which preparation steps matter most, and when a body shop is the safer or better-value option.
What Car Touch-Up Paint Can Actually Repair
Touch-up paint is designed for small areas of paint loss, not for rebuilding an entire damaged panel. It can cover stone chips, tiny scratches, edge wear, and small spots where the vehicle’s color coat has been removed.
A successful repair restores color and adds a protective coating over the exposed area. It does not usually restore the original factory texture, paint thickness, or invisible transition between old and new paint.
Touch-up paint works best when the damage is:
- Small, isolated, and shallow
- Limited to one or a few paint layers
- Located on a relatively flat panel
- Free of spreading rust or bent metal
- Surrounded by paint that is still firmly attached
A tiny chip through the clear coat and color coat may respond well to a careful paint dab. A scratch that reaches bare metal may also be repaired, but it normally needs primer and corrosion protection before the color coat.
The repair is less likely to look convincing when the damaged area is large, the panel has a complex curve, or the surrounding finish is faded. Touch-up paint can stop further exposure and improve appearance, but it is not a substitute for professional refinishing in every situation.
Why Results Vary From One Repair to Another
The biggest variable is not the label on the bottle; it is the condition of the damage and the quality of the application. Two products with the correct color code can produce different-looking repairs if one is applied over contamination, in thick layers, or without enough drying time.
Color matching is more difficult than it sounds
Vehicles are usually identified by a factory paint code, which may be found on a door-jamb label, under the hood, in the glove box, or in the vehicle documentation. The code is more reliable than choosing a color by name, but it does not guarantee a perfect visual match.
Paint can change after years of sunlight, washing, oxidation, and environmental exposure. A new touch-up color may match the original formula while appearing slightly brighter or darker than the surrounding aged finish.
Metallic and pearl colors are particularly challenging. Their appearance depends partly on how reflective particles sit in the paint, so brush direction, coat thickness, and lighting can alter the result.
The damage may involve more than the visible scratch
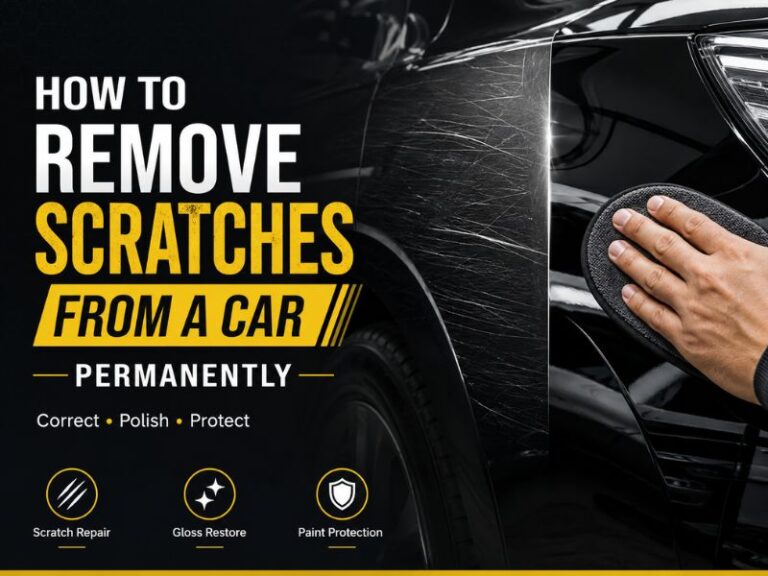
A mark that looks like a surface scuff may be transferred paint from another object rather than missing vehicle paint. In that case, cleaning and gentle polishing may improve the area without any touch-up paint.
By contrast, a scratch that catches a fingernail may have cut through the clear coat or color layer. If you can see primer, gray substrate, or shiny metal, color alone will not provide a complete repair.
Touch-up paint also cannot correct a dent, crease, peeling clear coat, or loose paint surrounding the chip. Those conditions require additional body or refinishing work before a color coat can produce a durable result.
When Touch-Up Paint Is Worth Using
Touch-up paint is most useful when the goal is protection and improvement, not perfection. A small exposed spot may look minor, but moisture and road salt can reach vulnerable metal through a deep chip.
Repairing that spot early can reduce the chance of rust spreading beneath the surrounding paint. The repair may remain visible, yet it can still be worthwhile because it seals the area and makes the defect less prominent.
It is a practical choice for:
- Stone chips on the hood, bumper, roof edge, or door edge
- Small scratches that do not require panel reshaping
- Paint loss around a door handle or trunk edge
- Minor damage on an older vehicle where a perfect blend is not essential
- Temporary protection before a larger professional repair
It may not be worth doing if the area is only a removable scuff, if the clear coat is peeling across a large section, or if the damage is positioned where an uneven repair will be highly visible. In those cases, cleaning, polishing, or professional refinishing may be more appropriate.
How to Prepare the Surface
Preparation often determines whether the repair looks neat or resembles a raised spot of paint. Start by washing the area with automotive soap and water, then dry it with a clean microfiber towel.
Remove wax, polish, grease, and road film around the damage. A suitable automotive surface cleaner can help, but it should be used carefully and according to its label. The surface must be clean and dry before paint is applied.
Inspect the area in good light and determine what has actually been removed. If loose flakes or lifting edges remain, they should not be painted over because they can continue to peel and undermine the repair.
For a deep chip or scratch, lightly smooth only the damaged edges if necessary. Avoid aggressively sanding the surrounding factory finish; removing more original paint can enlarge the repair and make blending harder.
Primer and rust need separate attention
If bare metal is visible, use a compatible automotive primer where the product system calls for it. Primer helps the color coat adhere and provides an additional barrier between the metal and moisture.
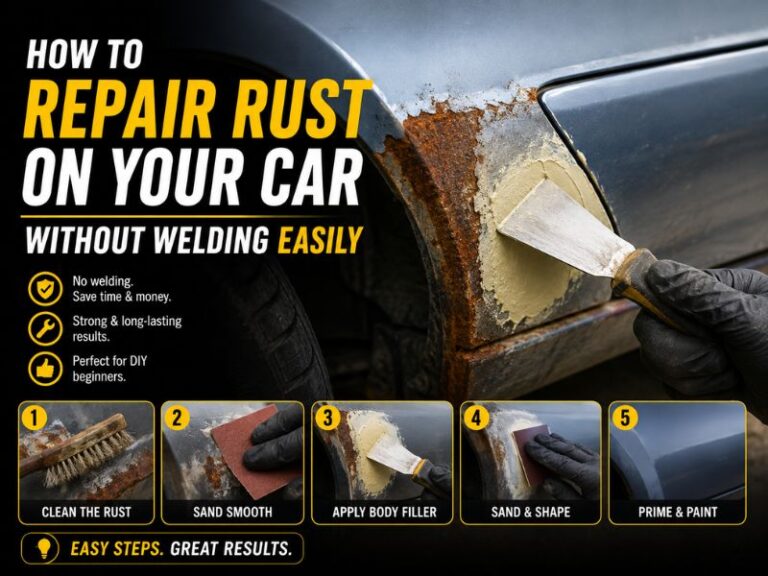
Visible rust should not simply be sealed under touch-up paint. Surface rust needs to be removed as thoroughly as practical, while deep corrosion, bubbling, or rust extending under the surrounding paint usually calls for professional assessment.
Plastic bumpers may require a different preparation process than steel or aluminum panels. Follow the paint manufacturer’s instructions for the specific surface rather than assuming one primer works everywhere.
How to Apply Touch-Up Paint Correctly
Apply the paint in a clean, dry environment with moderate temperature and low humidity when possible. Wind, dust, direct hot sunlight, and cold conditions can affect drying and carry debris onto the wet surface.
Shake or mix the product as directed, especially if it contains metallic or pearl pigments. Test a small amount on an inconspicuous area or a suitable sample surface before touching the visible repair.
Use the smallest applicator that can cover the defect. A fine brush, precision tip, or paint pen may be appropriate depending on the size and shape of the chip.
- Apply a very small amount to the deepest part of the damage.
- Keep the paint inside or just at the edge of the damaged area.
- Allow the coat to dry for the time specified by the product.
- Add additional thin coats rather than one heavy application.
- Apply clear coat only after the color coat has dried as directed.
- Let the completed repair cure before washing, polishing, or exposing it to harsh conditions.
Thin coats matter because thick paint can sag, wrinkle, dry unevenly, or form a visible mound. The goal is to gradually fill the chip, not to flood it with one application.
Do not repeatedly brush wet paint in an effort to make it perfectly smooth. That can disturb partially dried layers and spread the repair onto the surrounding finish.
Clear coat improves protection and appearance
Many factory finishes use a clear protective layer over the color coat. A compatible clear coat can add gloss, durability, and some protection against weathering after the color has dried.
Clear coat is not always necessary for every product, so the instructions for the specific touch-up system take priority. Applying an incompatible clear product may cause clouding, wrinkling, poor adhesion, or a different level of shine.
Gloss level also matters. A glossy clear coat on a matte or satin finish can make the repaired spot more obvious. The finish must match the original panel, not merely the color.
Should You Sand or Polish the Repair?
Light polishing can improve the transition around a small repair, but it cannot turn an incorrectly applied blob into a factory finish. Sanding is more demanding and can damage the surrounding clear coat if the repair is not fully cured or if too much material is removed.
For a beginner, the safest approach is usually to keep the repair small, apply controlled coats, and avoid aggressive leveling. If a product’s instructions specifically allow wet sanding after curing, use fine automotive-grade abrasives and work cautiously.
After curing, a mild polish may reduce slight haze or residue around the edges. Do not polish so soon that the paint softens, smears, or pulls out of the chip.
Wax and paint sealants should also wait until the product has cured according to its instructions. Prematurely covering the area can interfere with solvent release or adhesion.
Common Mistakes That Make Touch-Up Paint Look Worse
The most common mistake is using the wrong color. A bottle labeled “black,” “white,” or “silver” may be close in general terms but still visibly wrong on the vehicle.
Another frequent problem is skipping cleaning. Silicone, wax, oil, and dust can cause fisheyes, poor adhesion, or an uneven edge that becomes more noticeable than the original damage.
- Applying paint over rust or loose paint
- Using one thick coat instead of several thin coats
- Painting beyond the chip onto clean surrounding paint
- Ignoring the required primer or clear coat
- Working in direct sun, rain, or dusty conditions
- Touching the repair before it has cured
- Expecting a brush repair to blend a large scratched area
Some people also try to match the color by adding random coats until the spot looks right. This can create excessive thickness and still fail to solve a mismatch in hue or metallic orientation.
A careful repair should look slightly better and provide protection without drawing attention from normal viewing distance. If it becomes a raised, glossy, or strongly contrasting mark, further DIY work may cause more harm than leaving it alone and seeking advice.
Touch-Up Paint Versus Professional Refinishing
A body shop can prepare the damaged area, apply primer and color in controlled layers, blend the new paint into adjacent panels, and refinish the surface with professional equipment. That process is more expensive, but it is designed to address appearance as well as protection.
Professional help is usually justified when the damage is larger than a small chip, reaches through several layers, includes a dent, or sits on a prominent panel. It is also sensible when the vehicle has a difficult pearl, tri-coat, matte, or specialty finish.
Seek an evaluation if you see:
- Spreading rust, bubbling, or corrosion under the paint
- Peeling or cracking around the damaged area
- A deep scratch with exposed metal over a long section
- A dent or crease beneath the paint loss
- Damage near sensors, cameras, lamps, or body seams
- A repaired area that keeps lifting or changing color
Insurance or warranty decisions may also affect the best course, particularly when the damage resulted from a collision or another party’s actions. Documentation and a professional estimate can be more useful than repeated home repairs in those circumstances.
Safety and Product-Compatibility Considerations
Automotive paint products contain solvents and should be used with adequate ventilation. Read the label, keep products away from flames and ignition sources, and use the protective equipment specified by the manufacturer.
Do not mix primers, color coats, clear coats, reducers, or cleaners casually. Products from different systems may not be compatible, even when each one is intended for automotive use.
Keep paint away from rubber seals, textured trim, glass, sensors, and unprotected plastic unless the product is designed for those materials. Masking surrounding areas can prevent accidental overspray or drips, but masking does not replace careful application.
How Long Does a Touch-Up Repair Last?
Durability depends on surface preparation, product quality, exposure, and whether the repair was sealed correctly. A small, clean repair on a sound panel can last for years, while paint applied over contamination or rust may fail quickly.
Regular washing with automotive-safe products helps remove salt and grime that can accelerate deterioration. Avoid harsh scrubbing directly over a fresh repair until it has fully cured.
Inspect the area occasionally, especially after winter driving or repeated exposure to road debris. If the edge begins to lift, rust reappears, or moisture seems to be entering beneath the repair, address the problem before it spreads.
Conclusion: Use Touch-Up Paint for Small, Sound Repairs
Car touch-up paint does work when the damage is small, the color and finish are matched carefully, and the surface is properly cleaned and prepared. Its main limitation is appearance: it can protect and improve a chip or narrow scratch, but it usually cannot reproduce a seamless factory finish.
Start by checking the paint code and determining whether the mark is transferred paint, a shallow scratch, or exposed metal. Clean the area, use compatible primer and clear coat when required, apply thin layers, and stop before a larger DIY repair creates a new problem. For rust, peeling paint, dents, deep or widespread damage, a professional refinishing estimate is the safer next step.