How to Change a Headlight on a 2007 Chevy Avalanche Key Facts
To change a headlight on a 2007 Chevy Avalanche, open the hood, remove the two headlamp retaining pins, pull the headlamp assembly forward, disconnect its wiring, and replace the failed bulb or assembly. Reinstall the connector, housing, and pins in reverse order, then verify the beam before driving at night.
A cloudy lens can make a working lamp look defective, while a clear lens can hide a burned-out bulb, loose connector, or failed circuit. On a dark roadside or before a long trip, that difference matters because replacing the wrong part wastes time and may leave the Avalanche with reduced visibility.
This guide explains the tools, access points, bulb-versus-assembly decision, removal sequence, installation precautions, testing steps, and situations that need professional diagnosis. You will also learn how to check the retaining pins, avoid touching a halogen bulb, identify wiring problems, and decide whether a simple bulb replacement is enough for your 2007 Chevrolet Avalanche.
What You Need Before Starting
The 2007 Avalanche uses a removable headlamp housing, so the job is generally easier than on vehicles that require access through the wheel well or behind the bumper. Park on a level surface, switch off the lights, remove the key, and allow the headlamp area to cool completely.
Gather a replacement bulb or complete headlamp assembly, clean gloves, a small flashlight, and a clean towel. A trim tool or flat screwdriver can help with stubborn clips, but the main housing is retained by pins rather than a complicated set of fasteners.
Check the replacement part against the old one before installation. A bulb and a complete housing are different repairs, and the correct bulb can vary by beam position or replacement-part listing, so confirm the application for the specific 2007 Avalanche configuration.
Bulb replacement or headlamp replacement?
Replace only the bulb when the lens and reflector are in good condition but one beam has stopped working. Replace the complete housing when the lens is cracked, the mounting tabs are broken, the reflector is damaged, or moisture has entered and cannot be corrected by drying and sealing the unit.
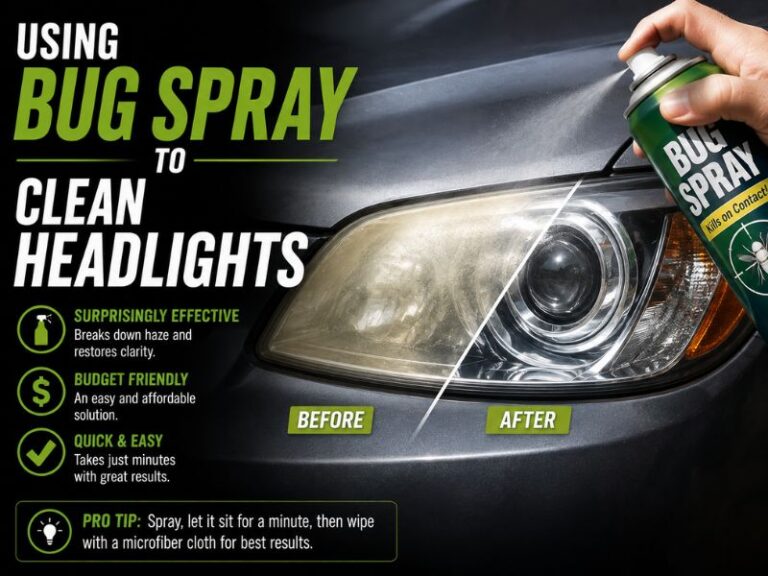
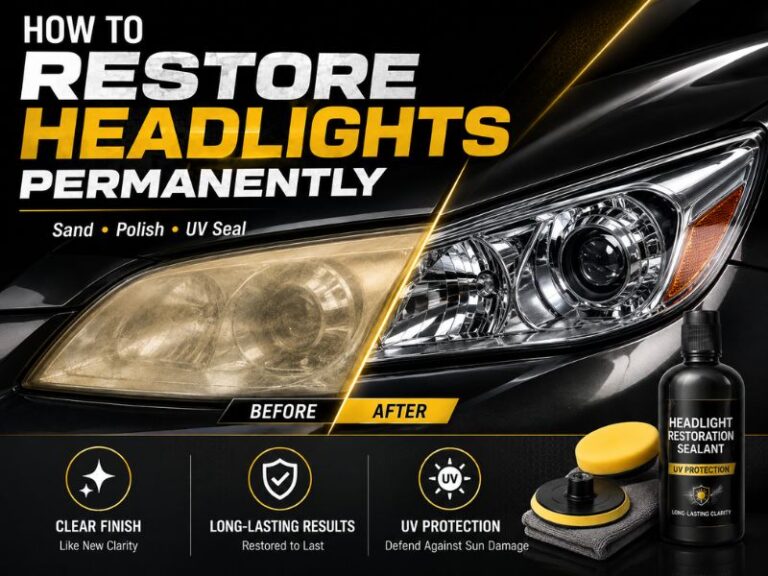
A yellowed or hazy lens does not automatically mean the bulb has failed. External oxidation can scatter light and reduce brightness even after a new bulb is installed, so inspect the lens before buying parts.
How the Avalanche Headlamp Is Secured
The headlamp assembly is held in place by two long retaining pins at the upper portion of the housing. These pins lock the lamp against the front-end support and allow the assembly to be removed from above without first taking off the bumper.
Look down behind the headlamp and locate both pin handles. They should be visible near the top of the housing; one pin is positioned toward the inner side and the other toward the outer side. Dirt or slight corrosion may make them less obvious.
Do not confuse the retaining pins with nearby wiring clips or radiator-support hardware. Pulling the wrong component can damage a harness or plastic bracket before the actual repair begins.
Removing the Headlamp Assembly
-
Raise the hood and support it securely. Turn the headlight switch off, and disconnect the negative battery cable if the area is crowded or you want an additional electrical precaution.
-
Clean loose dirt from around the top of the headlamp. Debris can fall into the connector or scratch the painted edge when the housing is moved.
-
Pull both headlamp retaining pins straight upward. Keep the pins together and note their orientation. If a pin resists, work it gently while pulling rather than twisting it aggressively or prying against the lens.
-
Grip the headlamp housing at a sturdy edge and pull it forward, away from the vehicle. It may need a small, controlled movement to release its locating points.
-
Support the assembly instead of allowing it to hang from the wiring. Press the connector lock, then disconnect the electrical plug from the rear of the housing.
Some assemblies may feel tight because of dirt, aged plastic, or a locating tab that has not fully released. Apply even pressure and inspect the mounting points if the housing does not move; forcing the lens can break a tab or damage the front fascia.
Replacing the Headlight Bulb
With the headlamp removed, place it on a soft towel with the lens facing downward only if the housing is stable and protected. Locate the rear bulb socket and wiring connector, then identify whether you are changing the low-beam or high-beam position.
Many 2007 Avalanche parts listings identify a 9006-type bulb for the low beam and a 9005-type bulb for the high beam, but verify the marking on the removed bulb and the application for the truck before installation. Trim, market, and replacement-housing differences make visual confirmation worthwhile.
-
Disconnect the bulb’s electrical connector if it is still attached. Avoid pulling on the wires; hold the connector body.
-
Rotate the bulb socket or retaining collar counterclockwise as designed for the housing, then remove the bulb from the rear of the assembly. If the socket does not turn, inspect for a locking tab rather than applying excessive force.
-
Compare the replacement bulb’s base, tabs, and connector with the old bulb. The locating tabs must match the housing; never try to force an incompatible bulb into place.
-
Put on clean gloves or hold the new halogen bulb by its plastic base. Do not touch the glass envelope with bare fingers.
-
Insert the bulb fully, align the tabs, and rotate the socket clockwise until it locks. Reconnect the electrical plug until it is secure.
Fingerprints on halogen glass can create a hot spot when the bulb operates, shortening its life or causing premature failure. If the glass is touched, clean it with rubbing alcohol on a lint-free cloth and let it dry before installation.
Installing a Complete Headlamp Assembly
If the lens or internal reflector is damaged, transfer only the components that the replacement housing is designed to accept. Compare the old and new assemblies side by side, including mounting tabs, pin channels, bulb locations, and connector arrangement.
Connect the wiring before pushing the housing fully into position if access becomes difficult once the assembly is seated. Keep the harness routed away from sharp edges, hot components, and points where the retaining pin could pinch it.
-
Connect the headlamp wiring plug and confirm that its locking mechanism engages.
-
Guide the housing into its locating points without dragging it across the painted body panel.
-
Push the assembly rearward until it sits flush and evenly with the adjacent grille and fender areas.
-
Insert both retaining pins through the housing and press them completely downward. The lamp should be held firmly without rocking.
-
Inspect the panel gaps and make sure no wiring or plastic tab is trapped under the housing.
A housing that sits crooked may not be fully engaged, may have a broken locating tab, or may use an incorrect replacement part. Correct the fit before aiming the lights, because an unstable assembly can move and change the beam direction.
Testing the New Headlight
Reconnect the battery if it was disconnected, then test the parking lights, low beams, high beams, and turn signal on the repaired side. Compare the repaired lamp with the opposite side for brightness, color, and beam behavior.
Test the lights with the engine running if the battery was disconnected or the vehicle has been sitting for a while. Do not look directly into an illuminated lamp at close range, and keep hands clear of belts and fans while the engine is running.
Check for these conditions before closing the hood:
- No light output: Recheck the connector, bulb seating, fuse, and ground-related wiring.
- Flickering: Look for a loose connector, damaged socket, broken wire, or poor contact.
- Dim or uneven light: Inspect the lens, reflector, bulb type, and electrical voltage.
- Moisture inside the housing: Check the housing seal, rear cap, and cracks around the lens.
- One beam works but the other does not: Test the individual bulb and its circuit rather than assuming the entire assembly is bad.
Checking Headlight Aim
Replacing a bulb should not normally change the adjustment, but an improperly seated bulb or a replaced housing can alter the beam. Aim the lights on a level surface against a wall or garage door, following the vehicle’s adjustment procedure and local requirements.
The low-beam pattern should appear level and should not shine directly into the eyes of drivers in oncoming vehicles. If the repaired side is noticeably higher, lower, or angled differently from the other side, inspect the bulb seating and housing position before using the adjustment screws.
Do not use the beam adjustment to compensate for a bent mounting bracket or a misaligned housing. Mechanical damage should be repaired first, and a professional lighting check is appropriate when the beam cannot be made even.
Common Problems During the Repair
A retaining pin will not come out
Road dirt and corrosion can make a pin stick. Apply controlled upward force while gently moving the pin, and clean around its exposed area. Avoid levering hard against the lens or painted bodywork, since plastic mounts can crack with age.
The replacement bulb burns out quickly
First check whether the glass was touched or contaminated during installation. Repeated failures can also indicate excessive vibration, a loose socket, water intrusion, charging-system problems, or a connector that is overheating.
The new bulb does not fit
Stop rather than forcing it. Compare the base and locking tabs, confirm the beam position, and verify the part number; a high-beam bulb and low-beam bulb may look similar while using different bases or electrical connections.
The lamp remains dark after a bulb change
Swap diagnosis carefully only when the connectors and parts are compatible, or use a test light or multimeter to check for power and ground. A fuse, damaged harness, faulty socket, control issue, or poor ground can prevent a new bulb from working.
When Professional Help Is Safer
Seek professional diagnosis if both headlamps fail, a fuse blows again immediately, wiring is melted, or the connector shows green corrosion or heat damage. These symptoms point beyond a routine bulb replacement and may create a fire or reliability risk if ignored.
Professional help is also sensible when the retaining pins or mounting brackets are broken, the assembly cannot be aligned, or the vehicle has suffered front-end impact. A damaged support can make a new lamp appear installed while leaving the beam unstable.
If you are working at night, on a roadside, or in poor weather, postpone the repair until the Avalanche is safely parked in a well-lit area. Never crawl under the vehicle for this procedure, and keep the hood secured while your hands are near the front structure.
Final Takeaway for Changing the Headlight
On a 2007 Chevy Avalanche, the practical repair is to lift out the two retaining pins, remove the housing, replace the correct bulb or damaged assembly, reconnect the wiring, and seat the pins fully. Confirm every lighting function and check the beam pattern before driving after dark.
The main limitation is that a dead lamp may result from wiring, a fuse, a socket, or a ground rather than the bulb itself, while cracked mounts and poor aim require more than a quick replacement. If the light still fails or cannot align correctly, stop replacing parts and have the circuit and headlamp mounting checked by a qualified technician.