How to Replace a PCV Valve: Step-by-Step Guide for Beginners
A faulty positive crankcase ventilation (PCV) valve can affect how crankcase vapors are routed back into the engine. On vehicles that use a separate replaceable PCV valve, replacing it is often a relatively simple maintenance or repair job that requires only basic hand tools.
To replace a PCV valve, locate the valve on or near the valve cover, disconnect its hose, remove the old valve from its grommet or threaded fitting, install the correct replacement, reconnect the hose, and check for leaks or abnormal engine operation.
Learning how to replace a PCV valve is generally straightforward, but the exact procedure varies by vehicle. Some PCV valves simply pull from a rubber grommet, while others screw into the valve cover or connect through clips and molded hoses. Many newer engines do not have a separate serviceable valve at all; the PCV regulator, diaphragm, or oil separator may be built into the valve cover.
For that reason, you should identify your vehicle’s exact PCV design before buying parts or trying to remove anything. This guide explains the general replacement process, where the valve is usually located, what to inspect while it is removed, and how to tell whether the repair was completed correctly.
How to Replace a PCV Valve Step by Step
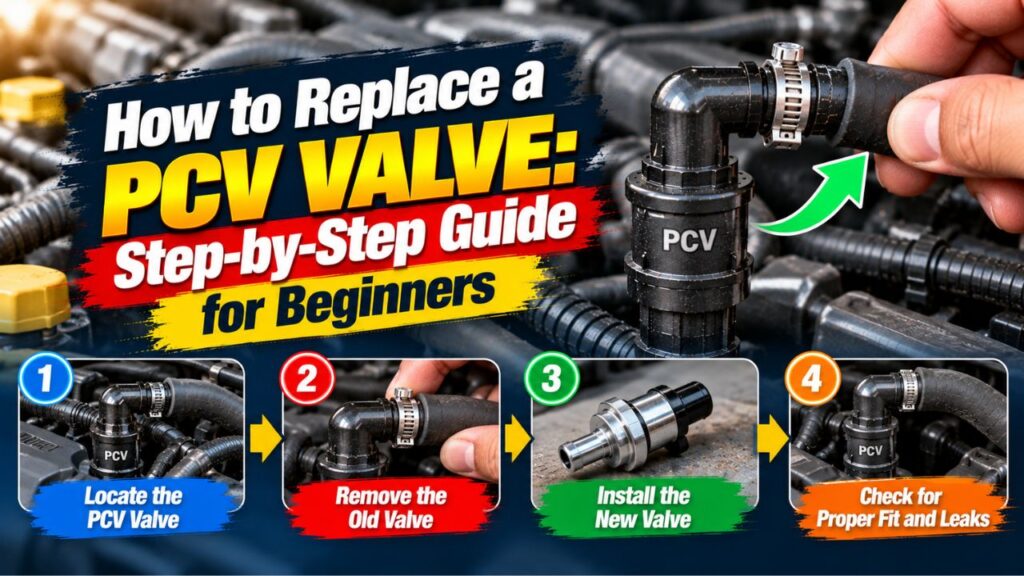
On a vehicle with a conventional replaceable PCV valve, replacement usually involves removing the PCV hose, taking the valve out of the valve cover or intake connection, installing a matching replacement, and reconnecting everything securely.
The basic procedure is:
- Park the vehicle and allow the engine to cool.
- Locate the PCV valve.
- Inspect how the valve and hose are attached.
- Disconnect the PCV hose carefully.
- Remove the old PCV valve.
- Inspect the hose and grommet.
- Install the new valve in the correct orientation.
- Reconnect the hose.
- Start the engine and check for leaks or unusual operation.
Although the job may take only a few minutes on some engines, cramped engine compartments or integrated PCV systems can make the repair considerably more involved.
What Is a PCV Valve?
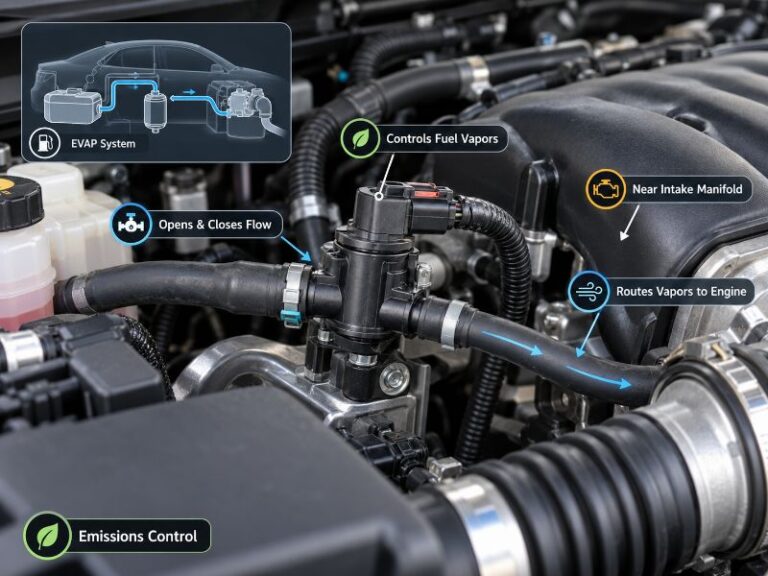
The PCV valve is part of the engine’s crankcase ventilation system.
During combustion, a small amount of gas can escape past the piston rings and enter the crankcase. These gases are called blow-by gases.
The PCV system routes these vapors from the crankcase back into the intake so the engine can burn them instead of allowing pressure and vapors to accumulate.
On older and many conventional systems, a PCV valve regulates this airflow according to engine operating conditions.
A properly functioning PCV system helps control crankcase pressure and reduces the amount of oil vapor and combustion gases remaining inside the engine.
Where Is the PCV Valve Located?
The PCV valve is commonly found on or near a valve cover, although its exact position varies by engine.
A typical PCV valve may be connected to a hose running between the valve cover and:
- Intake manifold
- Intake tube
- Throttle-body area
On some engines, the valve looks like a small plastic or metal fitting pushed into a rubber grommet.
On others, it may be threaded directly into the valve cover.
Modern engines may use an integrated system in which the PCV diaphragm or pressure-regulating components are built into the valve cover or oil separator. In those cases, you may not find a removable valve at all.
If the location is unclear, use the vehicle’s exact year, make, model, and engine to identify the correct component before disassembly.
What Tools Do You Need?
A traditional PCV valve replacement usually does not require specialized tools.
Depending on the vehicle, you may need a pair of pliers, a small socket or wrench, a screwdriver for hose clamps, and a clean cloth.
If the valve threads into the engine, the correct socket or wrench may be required.
Avoid using excessive force around old plastic hoses and connectors. Heat from the engine can make plastic brittle over time, and a simple PCV replacement can become more complicated if a hose or fitting cracks during removal.
Step 1: Let the Engine Cool
Work on a cool or comfortably warm engine rather than reaching around hot exhaust, intake, or cooling-system components.
Turn the ignition off and remove the key.
If the PCV valve is close to electrical connectors, belts, or moving components, make sure there is no chance of the engine starting while you work.
You usually do not need to disconnect the battery for a basic PCV valve replacement unless the vehicle’s service procedure requires it.
Step 2: Locate and Identify the Correct PCV Valve
Before removing the old valve, compare the replacement part with what is installed on the engine.
Check:
- Overall shape
- Hose connection size
- Mounting style
- Thread design if applicable
- Flow direction markings
PCV valves can look very similar while having different internal flow characteristics.
A valve that physically fits is not necessarily correct for the engine.
Use the correct part number for the vehicle.
Step 3: Inspect the PCV Hose
Look at the hose before disconnecting it.
A PCV hose can become:
- Brittle
- Soft
- Cracked
- Oil-soaked
- Collapsed
A leaking hose can cause a vacuum leak even if the PCV valve itself is new.
If the hose is damaged, replacing only the valve may not solve the original problem.
Pay particular attention to the ends of the hose where cracks often form around fittings.
Step 4: Disconnect the PCV Hose
The hose may simply slide over a barbed fitting, or it may use a clamp or quick-connect fitting.
If there is a clamp, release it first.
Twist the hose gently to break the seal before pulling.
Do not pull aggressively on an old plastic or rubber hose.
If the hose is stuck, carefully work it loose rather than prying hard against the valve cover or intake manifold.
For quick-connect designs, identify the release mechanism before pulling. Forcing the fitting can break its locking tabs.
Step 5: Remove the Old PCV Valve
How the valve comes out depends on its design.
Push-In PCV Valve
A traditional push-in valve normally sits inside a rubber grommet in the valve cover.
Grip the valve and gently twist it while pulling upward.
The twisting motion helps release it from the grommet.
Threaded PCV Valve
A threaded valve may require a wrench or socket.
Turn it counterclockwise to remove it.
Use only enough force to loosen the valve. Some components are installed into aluminum or plastic housings where excessive force can damage threads.
Clip-Mounted or Integrated Design
Some engines use clips, molded assemblies, or integrated PCV components.
Follow the vehicle-specific procedure.
Do not assume a component should pull straight out simply because it resembles a conventional PCV valve.
Step 6: Inspect the Grommet and Opening
If the old valve was installed in a rubber grommet, inspect it carefully.
A worn grommet can become:
- Hard
- Cracked
- Loose
- Deformed
If the new PCV valve does not fit securely, replace the grommet.
A loose grommet can create a vacuum leak or allow oil vapor to escape.
Clean dirt from around the opening before removing the valve so debris does not fall into the engine.
Avoid pushing dirt, broken rubber, or plastic pieces through the opening.
Step 7: Compare the Old and New PCV Valves
Before installation, place the old and new valves side by side.
Confirm that the replacement has the same:
- Connection style
- Mounting dimensions
- Hose diameter
- Thread type
- Flow orientation
Some PCV valves contain internal springs, check mechanisms, or calibrated passages.
This is why using a generic valve that merely looks similar is not recommended.
Step 8: Install the New PCV Valve
For a push-in design, press the new valve firmly into the grommet until it is fully seated.
It should fit securely without excessive force.
For a threaded valve, start the threads by hand to reduce the chance of cross-threading.
Tighten according to the manufacturer’s specification if one is provided.
Do not overtighten a plastic PCV valve or a valve threaded into a plastic valve cover.
If the valve has a marked airflow direction, make sure it is installed correctly.
Step 9: Reconnect the PCV Hose
Push the hose fully onto the new valve.
Reinstall any clamp or locking connector.
Make sure the hose is not:
- Kinked
- Twisted
- Collapsed
- Resting against excessively hot components
A PCV hose restriction can interfere with crankcase ventilation even when the valve is new.
Step 10: Start the Engine and Check the Repair
After everything is connected, start the engine.
Let it idle and inspect the PCV area.
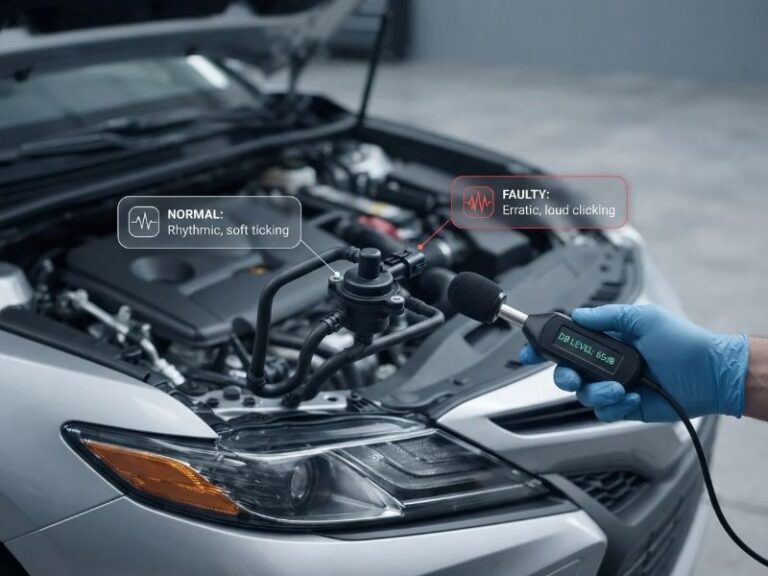
Listen for unusual:
- Hissing
- Whistling
- Vacuum noise
Also check that the hose remains securely attached.
The engine should idle normally.
If it suddenly develops a rough idle or strong hissing immediately after the replacement, inspect for a loose connection, cracked hose, poorly seated grommet, or incorrect PCV valve.
How Do You Know the New PCV Valve Is Working?
A properly installed PCV valve should allow controlled crankcase ventilation without creating an obvious vacuum leak.
Depending on the engine, you may notice that previous PCV-related symptoms improve after replacement.
However, do not expect every problem to disappear immediately if oil has already accumulated in the intake or other engine problems are present.
The most important checks after installation are that the connections are sealed, the engine runs normally, and there is no obvious oil or vacuum leak around the repair.
Do You Need to Replace the PCV Hose Too?
Not automatically.
If the hose remains flexible, properly shaped, and free from cracks or restrictions, it may be reusable.
Replace it when it is brittle, cracked, collapsed, swollen, or contaminated badly enough to restrict airflow.
A cracked PCV hose can allow unmetered air into the engine on some systems, causing drivability problems that may look like a bad valve.
Should You Replace the PCV Grommet?
Replacing the grommet is a good idea if it is hardened, cracked, loose, or damaged during valve removal.
An old rubber grommet may appear acceptable until you remove the PCV valve, then break apart or fail to grip the replacement securely.
Because grommets are often inexpensive, replacing a questionable one while the PCV valve is already removed can prevent a vacuum leak later.
What if the PCV Valve Is Stuck?
Do not aggressively pry against a plastic valve cover.
For a push-in valve, gently twisting it back and forth while pulling often helps.
If the grommet has become hard around the valve, it may need to be replaced after removal.
If pieces of the grommet begin breaking, prevent them from falling into the valve cover opening.
For threaded components that will not loosen, verify that you are actually working with a removable valve before applying more force.
Some modern PCV assemblies are not designed to separate from the valve cover.
What if Your Engine Has No Removable PCV Valve?
Many newer engines have moved away from the simple replaceable valve used on older vehicles.
The PCV system may be integrated into:
- Valve cover
- Crankcase breather assembly
- Oil separator
- Diaphragm housing
If the internal diaphragm or regulating system fails, the manufacturer may require replacement of an entire assembly rather than a small standalone valve.
Do not cut open or modify a sealed valve cover simply because you cannot find a traditional PCV valve.
Identify the design first.
Can You Replace a PCV Valve Yourself?
On engines with a simple accessible valve, PCV replacement is often a beginner-friendly DIY repair.
The job becomes more difficult when access requires removing:
- Engine covers
- Intake components
- Hoses
- Electrical connectors
- Valve cover assembly
If the PCV system is integrated deeply into the engine or the repair requires major disassembly, professional service may be more practical.
The difficulty depends far more on engine design than on the PCV valve itself.
How Long Does It Take to Replace a PCV Valve?
A simple external PCV valve can sometimes be replaced in 10 to 30 minutes.
An integrated system may take considerably longer.
Access is often the biggest factor.
A valve buried beneath an intake manifold, engine cover, or other components can turn a very simple part replacement into a longer repair.
How Often Should a PCV Valve Be Replaced?
There is no universal replacement interval for every vehicle.
Some manufacturers provide a maintenance interval, while others recommend inspection or replacement only when a problem is found.
PCV system life depends on:
- Engine design
- Oil-change history
- Driving conditions
- Engine blow-by
- Sludge buildup
- Valve construction
Use the vehicle manufacturer’s maintenance schedule rather than automatically replacing the valve at a generic mileage.
Can You Clean a PCV Valve Instead of Replacing It?
Some older metal PCV valves can physically be cleaned, but replacement is usually preferable when the valve is inexpensive and suspected of malfunctioning.
Cleaning may remove deposits without restoring:
- Weak internal spring
- Worn valve mechanism
- Damaged diaphragm
- Incorrect flow regulation
Modern integrated PCV assemblies are generally not intended to be cleaned internally unless the manufacturer provides a procedure.
Common Mistakes When Replacing a PCV Valve
One common mistake is buying a valve based only on appearance. PCV valves can have different internal calibrations even when they look nearly identical.
Another mistake is replacing the valve but ignoring a cracked hose or hardened grommet. A vacuum leak around the new valve can create new problems and make it seem as though the replacement did not work.
Also avoid installing the valve backward when it has a defined flow direction, overtightening threaded plastic components, or forcing an integrated PCV assembly apart.
Taking a few minutes to identify the system before disassembly prevents most replacement problems.
FAQs About How to Replace a PCV Valve
Is replacing a PCV valve easy?
It can be very easy on vehicles with a conventional push-in PCV valve. You usually disconnect one hose, remove the old valve, install the replacement, and reconnect the hose.
Integrated PCV systems can be much more involved.
Do I need special tools to replace a PCV valve?
Usually not.
Many conventional PCV valves can be replaced with basic pliers or hand tools.
Threaded or hard-to-access designs may require sockets, wrenches, or additional disassembly.
Should the engine be running when replacing a PCV valve?
No.
Turn the engine off before removing or installing the valve.
Allow hot engine components to cool enough to work around safely.
Can I replace only the PCV valve and reuse the hose?
Yes, if the hose is still in good condition.
Replace it if it is cracked, collapsed, hardened, or leaking.
What happens if I install the wrong PCV valve?
An incorrectly calibrated PCV valve can allow too much or too little crankcase airflow.
This can contribute to vacuum problems, oil consumption, crankcase pressure issues, or poor engine operation.
Use the correct vehicle-specific part.
Does the PCV valve have a direction?
Many PCV valves are designed to control flow in a particular direction.
Install the replacement in the same orientation as the original and follow any arrows or markings on the part.
Should I replace the PCV valve grommet at the same time?
Replace the grommet if it is cracked, hard, loose, or damaged.
A good grommet can usually be reused if it still holds the new valve securely and seals properly.
What should I do if the new PCV valve causes a rough idle?
Check that the PCV hose is connected securely, the grommet seals correctly, and the replacement valve is the correct part.
A disconnected or leaking PCV connection can act like a vacuum leak on many engines.
Conclusion
The overall process for how to replace a PCV valve is simple on vehicles that use a conventional serviceable valve: identify the correct part, disconnect the PCV hose, remove the old valve, inspect the hose and grommet, install the replacement in the correct orientation, and reconnect everything securely.
The most important part of the job is confirming what type of PCV system your engine actually uses. Older engines often have an inexpensive valve that can be changed in minutes, while many newer engines integrate the PCV diaphragm, oil separator, or pressure regulator into a larger valve-cover assembly.
For a successful repair, do not focus only on the valve itself. A cracked hose, damaged grommet, blocked passage, or incorrect replacement part can leave the crankcase ventilation system malfunctioning even after a new valve is installed. Once the correct parts are fitted and all connections are sealed, start the engine, check for vacuum or oil leaks, and confirm that it idles normally.